
The key features in Lily are Audience, Campaigns, Automations, Newsletter, Templates and Signup forms. They are all accessible directly from the left sidebar menu. You also find links to this functionality in the main content section. Here’s an overview of each of these important features, with step by step guides on how to use them.
We’ve made it easier, and smarter, to design engaging and beautiful newsletters, campaigns and automations here in Lily. With this brand-new version of our Template Builder, you can now create, customize and test templates faster than ever before. Here's how it works…
Sending an email campaign — or setting up an automation — has never been easier.
Start by clicking on the “Create new template” button in the top right corner. This takes you to the new Template Library, where you can:
Tip: Remember to click Save Template regularly while working, as your progress isn’t auto-saved!
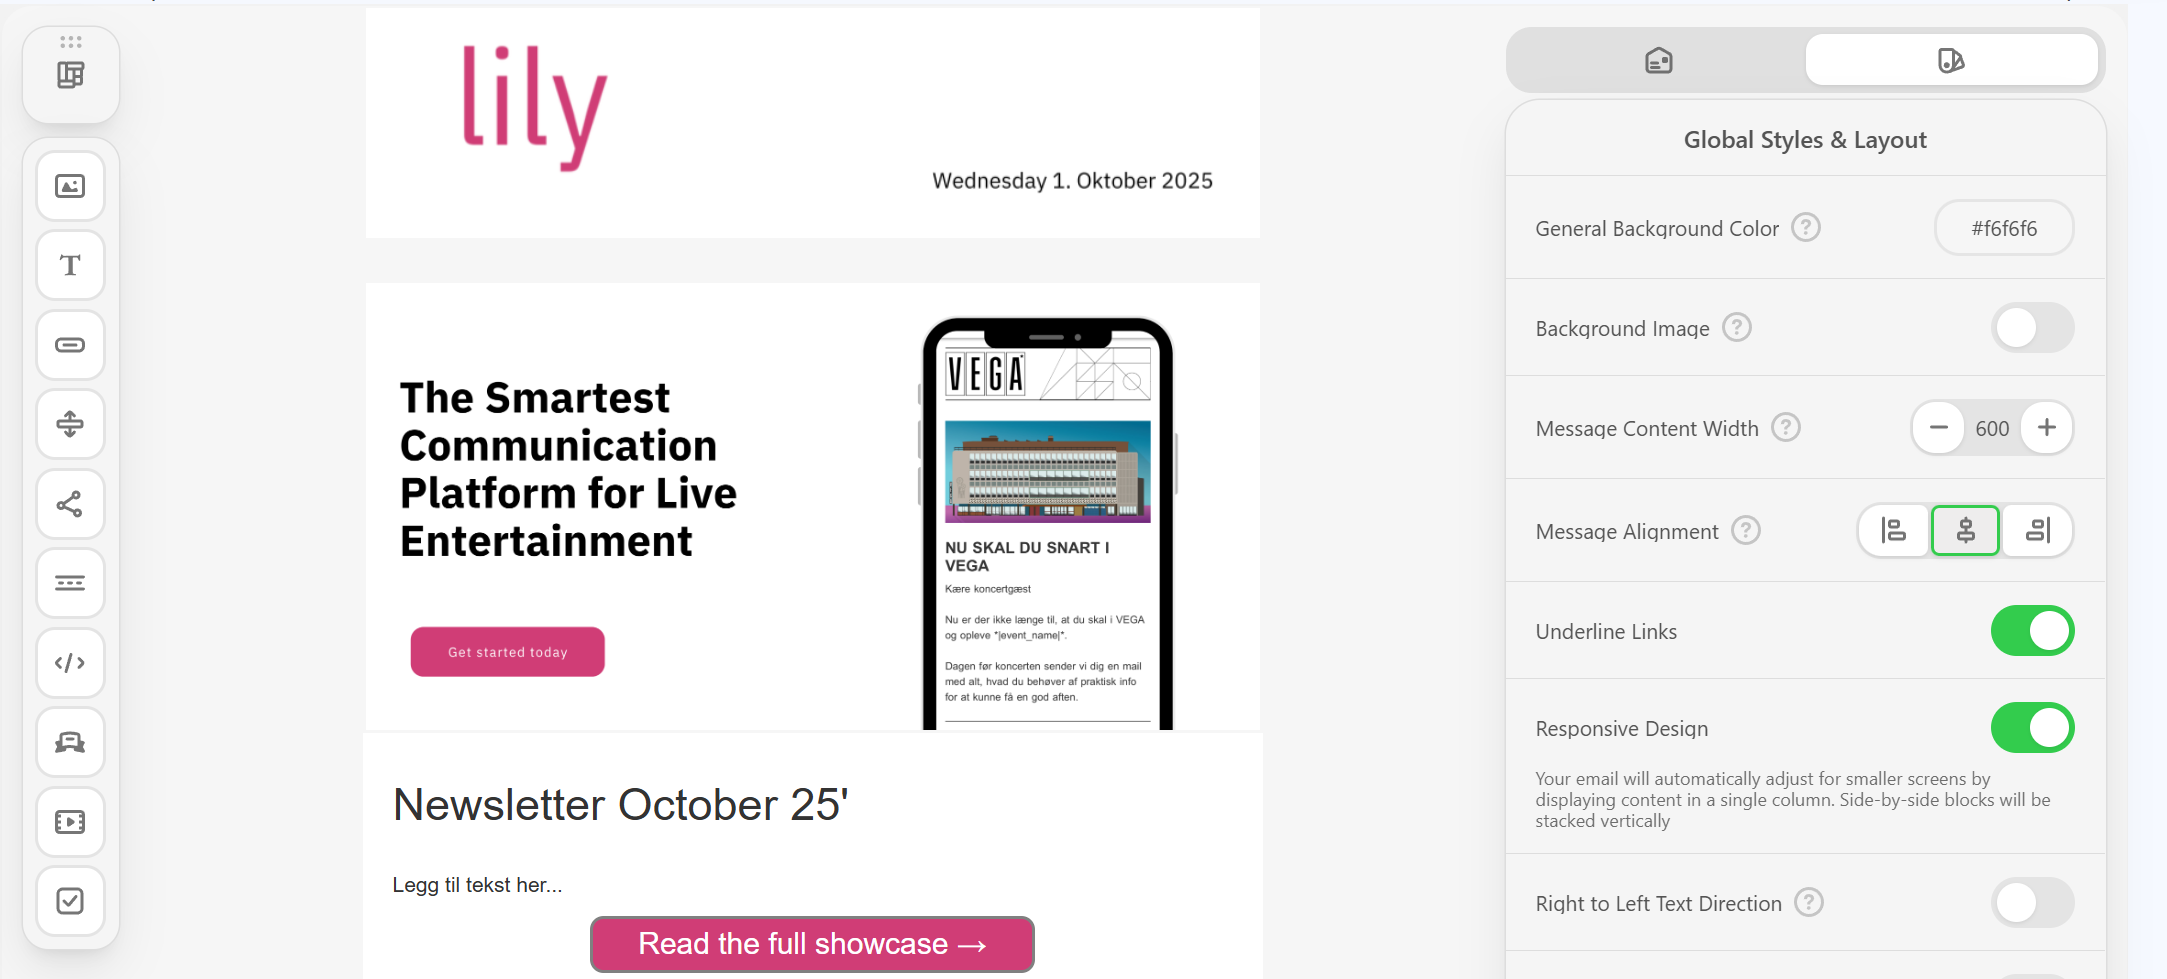
The new design gives you a clear overview and quick access to everything you need:
Message width: Choose the width of your newsletter, push, or automation (max. 600px).
Message alignment: Decide whether your message should be centered or aligned to one side.
Default padding: Adjust margins on the sides (e.g., 20 left and 20 right).
General background color & font: Set a default background color and font for your email.
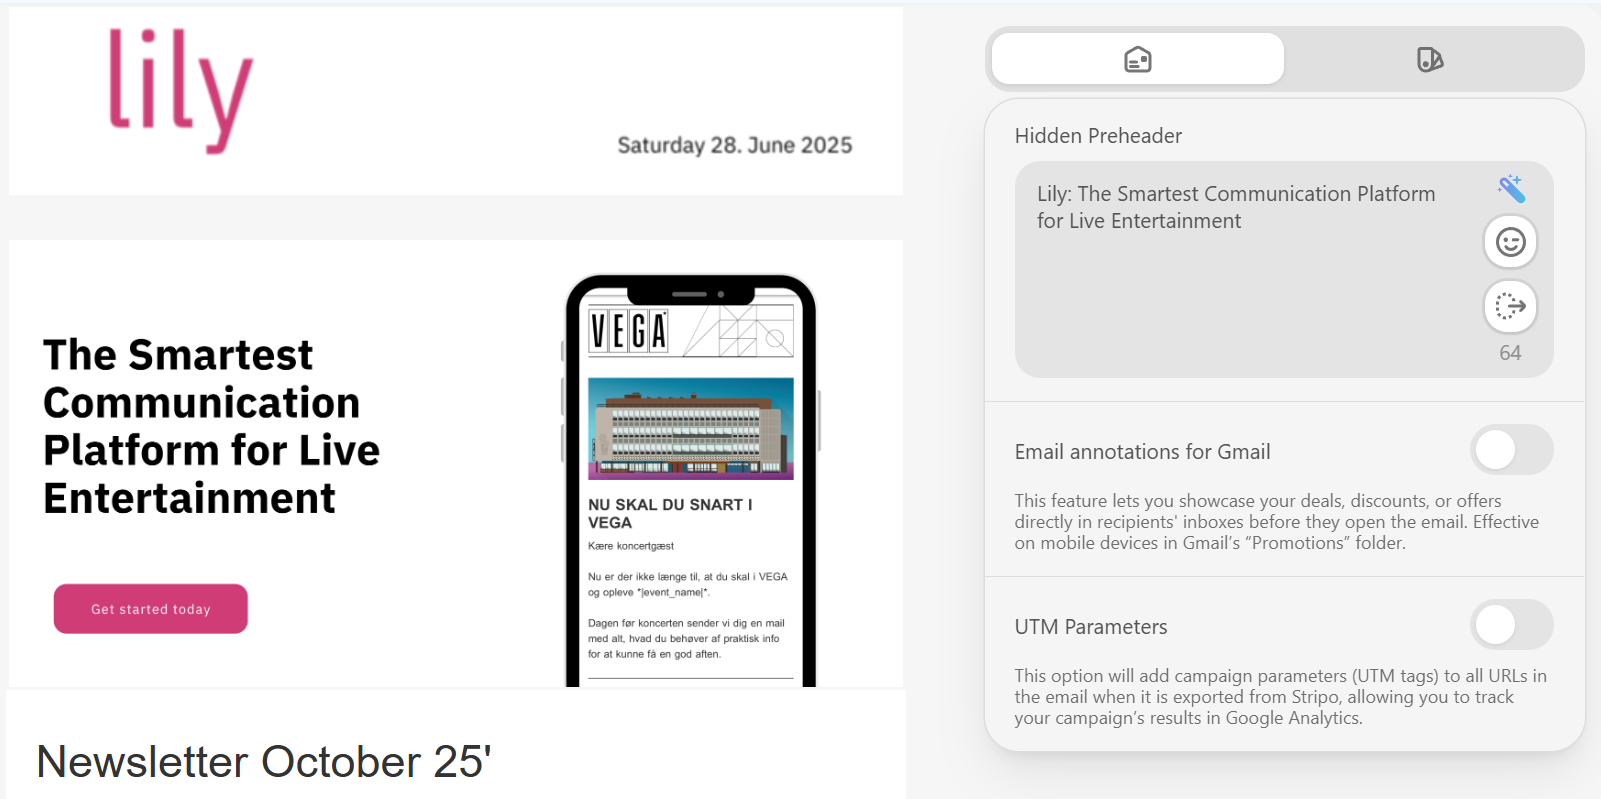
Tip: You can also go to Message Settings (In the global styles tab, top left button/icon) to:

Select the “Heading tab” to define your tile styles. Here you can:
This helps you keep newsletters consistent and on-brand.
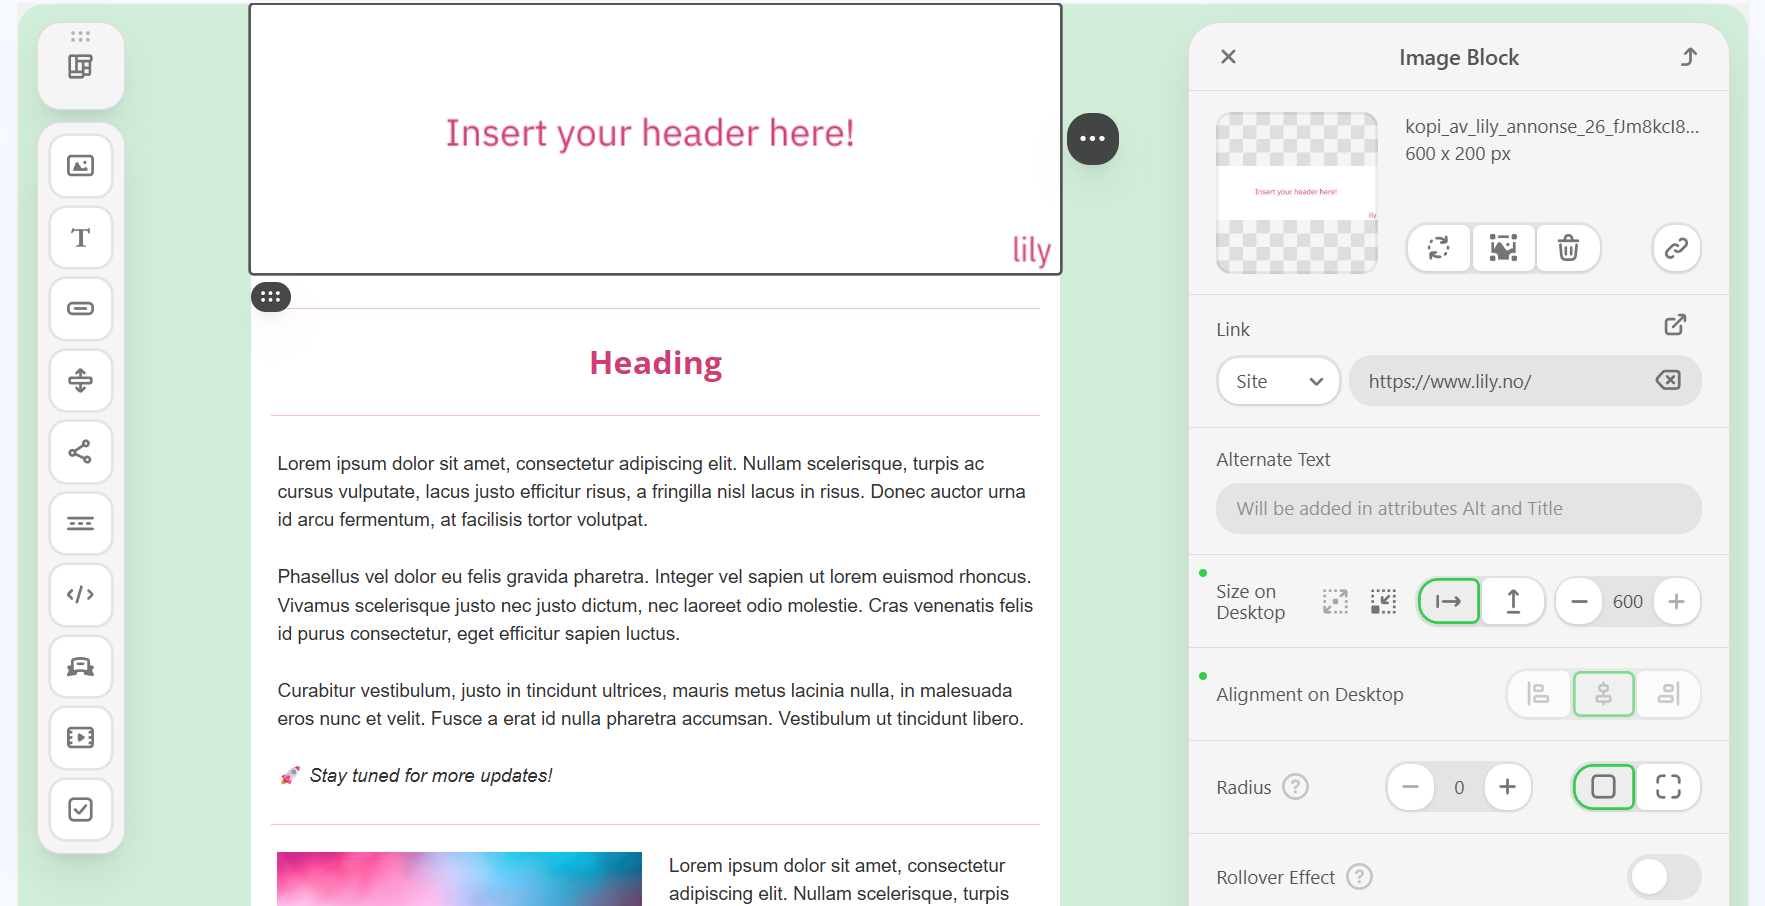
When starting from scratch, click on the “Insert header here” block, where the image tab will appear on the right hand side. Click on the round icon “Replace Image”, and:
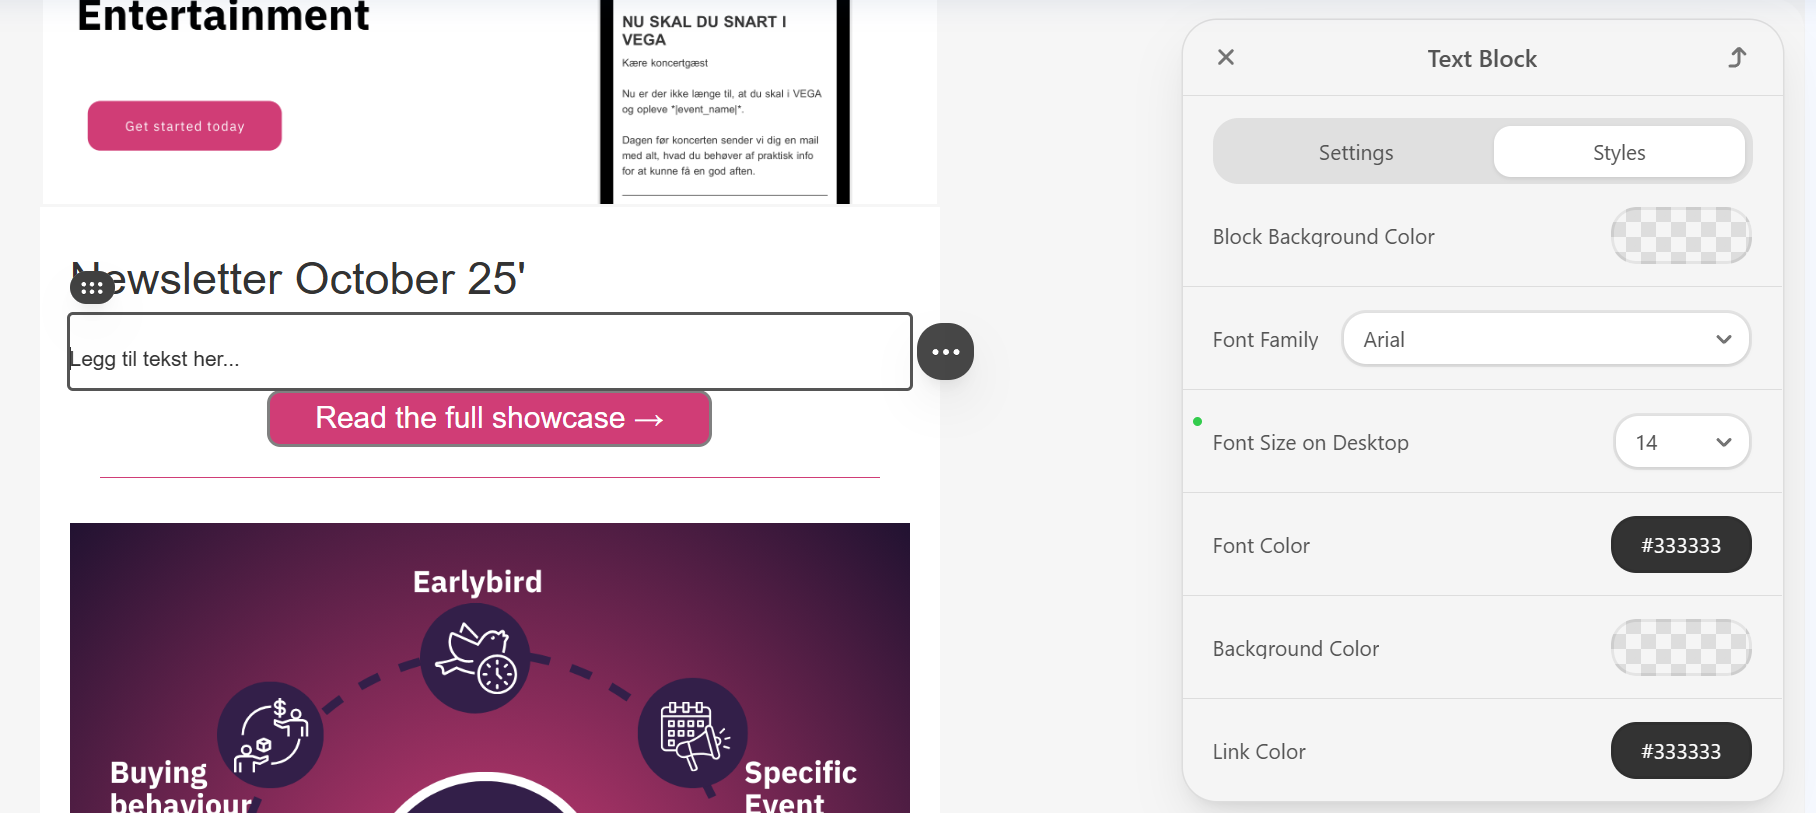
To edit text:
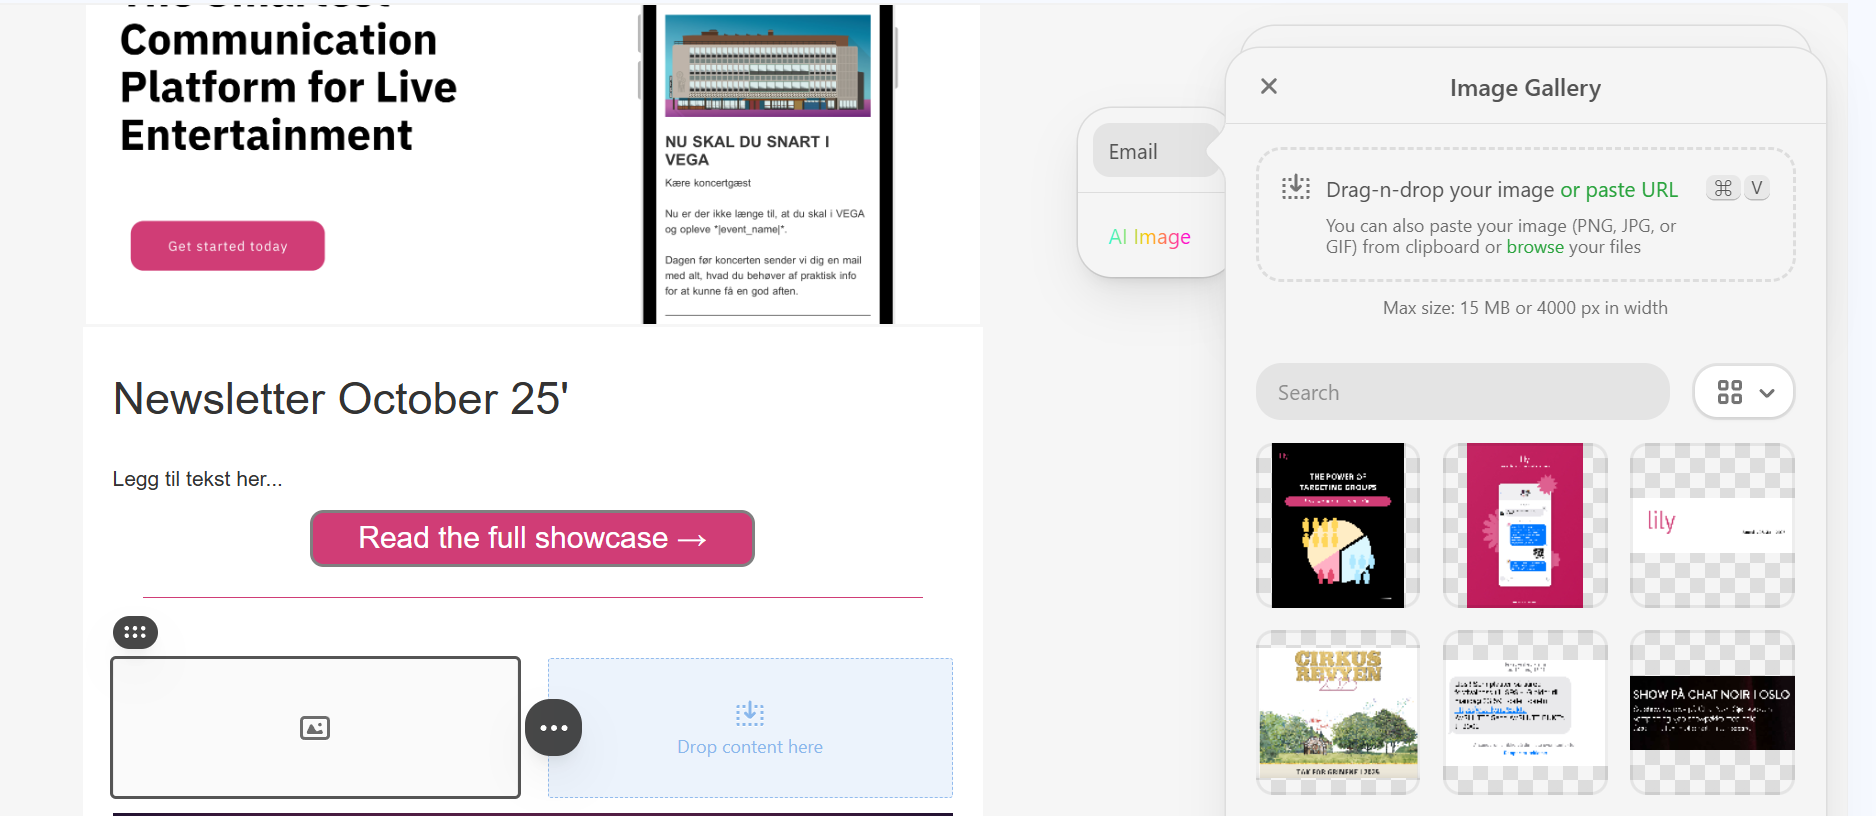
To insert or change an image, follow the same steps as when changing your header:
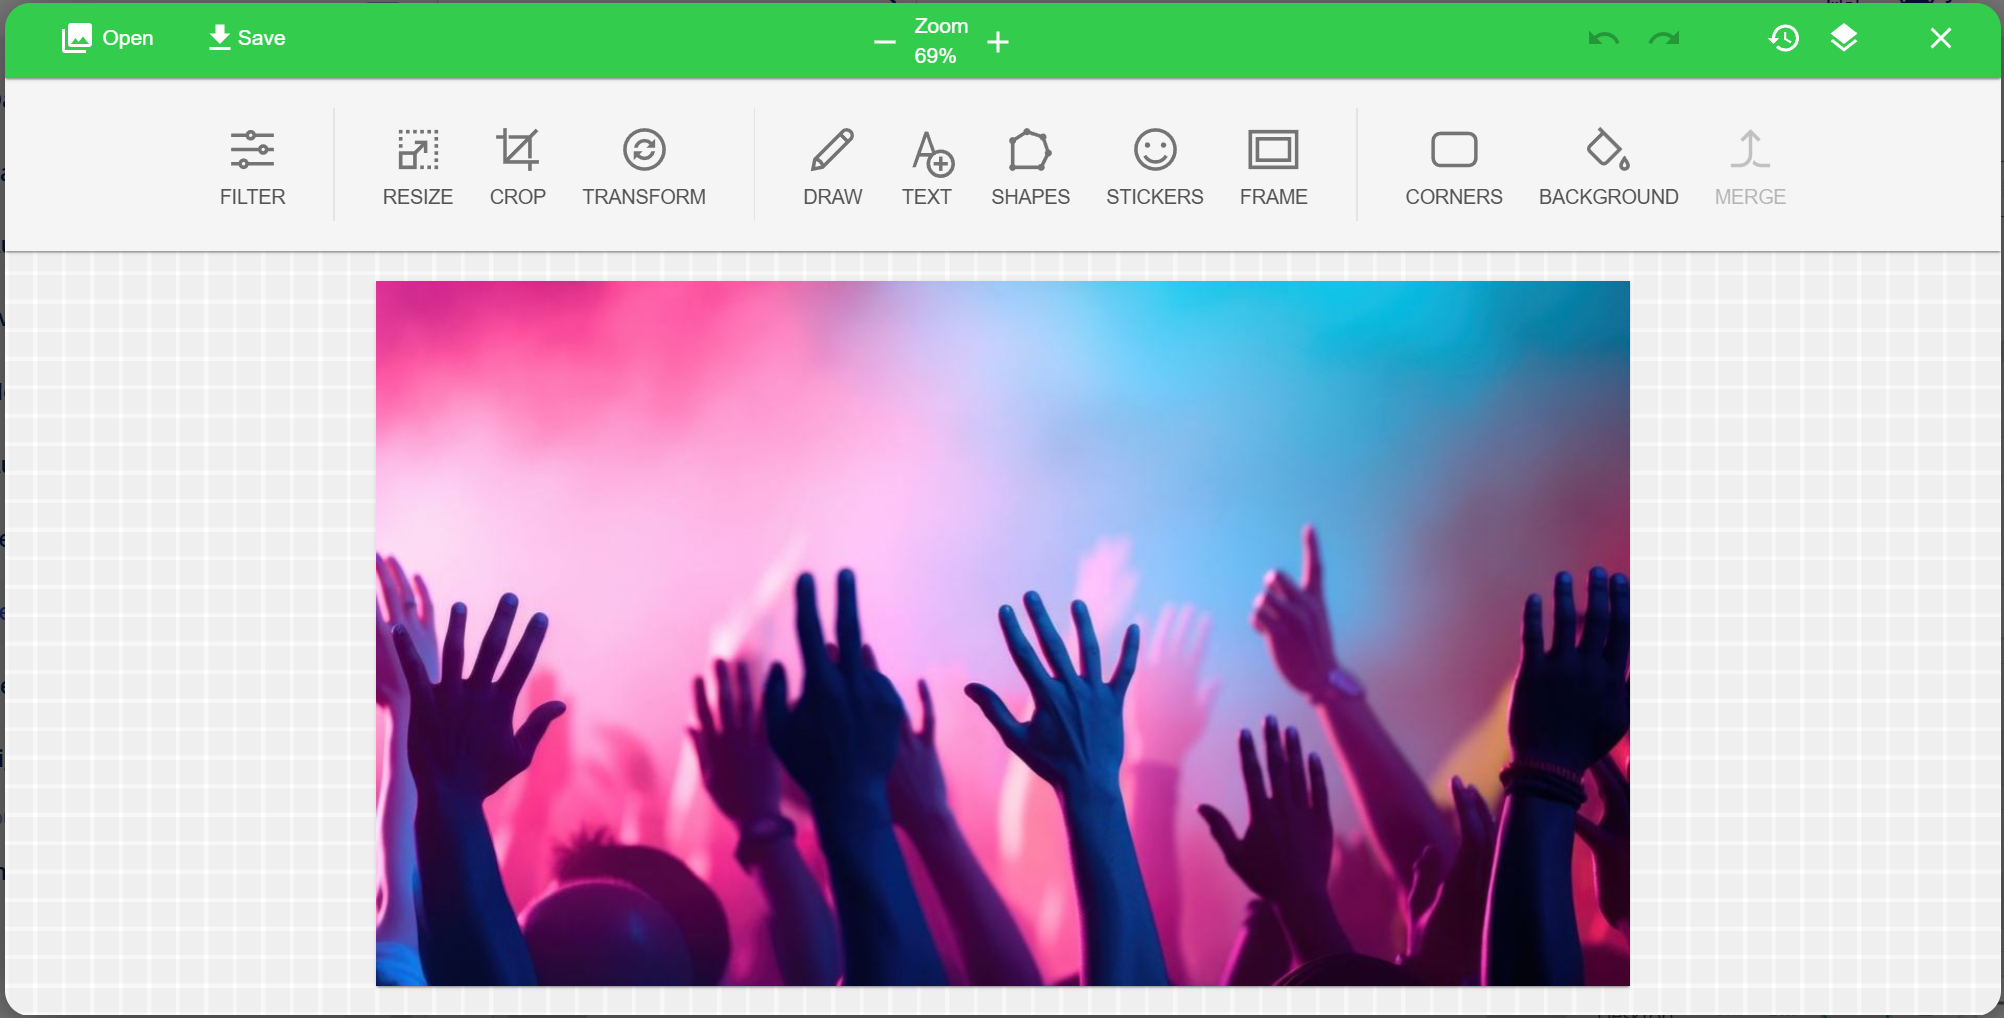
Editing Images: Click the “Edit Image” Icon, next to the “Change Image” icon.
Then you will be redirected to the image editor where you can for instance crop, resize, draw and change the background color of your image. You can also add text and frames. Then you click on save and your changes will appear.
In the Blocks section, drag a Button Block into your email. Then you can choose between different editing options in Settings and Styles.
To create breathing room between sections, drag a spacer block into your layout. You can adjust its height, width and color in the right-hand editor panel.
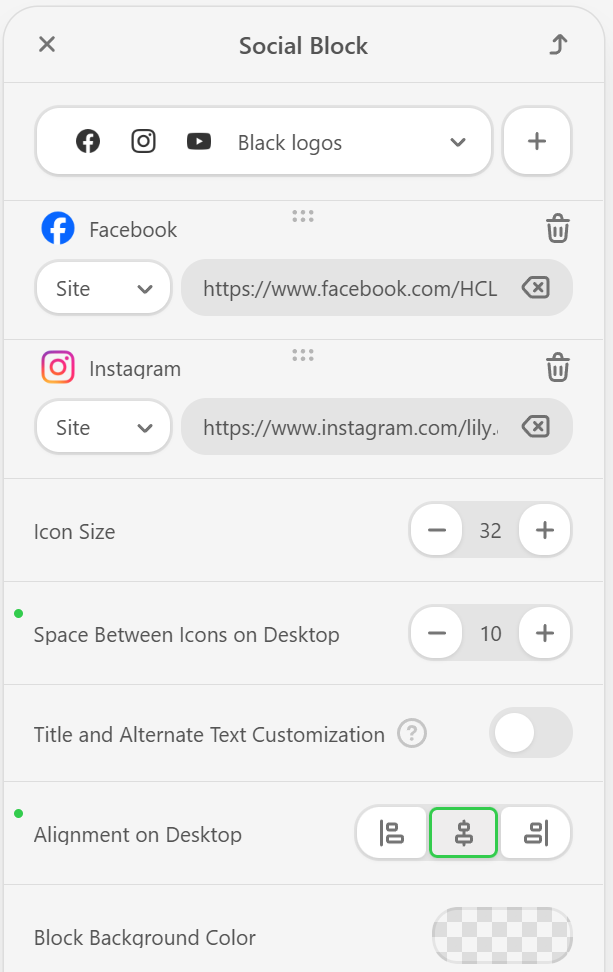
Add your social media links by dragging in the Social Block from the left panel. You can:
At the top of the builder, you can now switch between mobile and desktop view to preview your design instantly. This makes it easier to ensure your template looks great on a mobile device as well.
However, we always recommend to send a test at the bottom of the preview pop-up, and check your template on different email platforms, both on desktop and phone, as well as with and without dark mode (on iPhone especially).
With Lily’s new AI Subject Line Generator, you can now create effective, personalized subject lines directly inside your template, saving you time and effort when setting up campaigns.
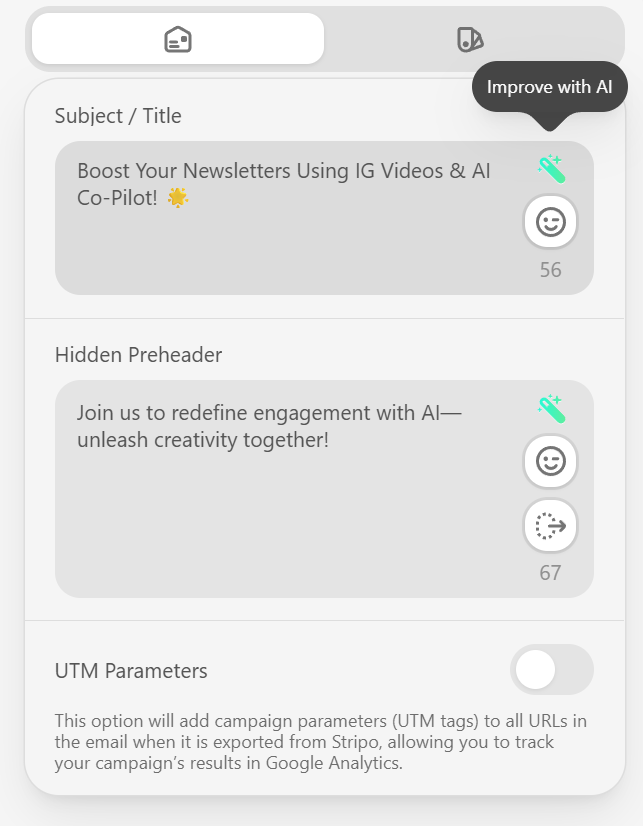
When you write or generate a subject line in your template, it will automatically appear in your Campaigns, so there’s no need to re-enter or copy it later. This ensures consistency across your email setup and helps you get campaigns out faster.
To use it:
Tip: Use the AI generator to test different tones or styles — such as creative, informative, or promotional — and see which ones drive the best open rates.
When you’re ready to save:
Final Tip: Start with a Lily Template to save time, they come with pre-built structures and styles that match best practices for readability and performance.
This section will cover how to set up a signup form in Lily. You can create as many signup forms as you need, depending on how and where you want to post these forms to collect new marketing consents. These will then show up in your Audience segment, where you can create an Audience for your signup form and create tailored newsletters and campaigns.
You can also connect a signup form to Automatios, so that when a new person sign up, they will automatically receive a scheduled email thanking them for subscribing etc.
Below, you will find all the steps you need in order to create this form:

To add a signup form to your website you must scroll down to the "Embedded form" section, and add this to your website. You just copy and paste the code shown in the grey box into your website. The code will load the signup form automatically from Lily’s platform, so you don’t need to build the form yourself. It also shows how to mark required fields. If some fields must be filled out (like name or email), you can add a red asterisk * next to the label. Just use the small bit of CSS code at the bottom. This helps them know which fields they must complete before submitting the form.
We’ve made it easier, and smarter, to design engaging and beautiful newsletters, campaigns and automations here in Lily. With this brand-new version of our Template Builder, you can now create, customize and test templates faster than ever before. Here's how it works…
Start by clicking on the “Create new template” button in the top right corner. You’ll arrive at the new Template Library, where you can:
Tip: Remember to click Save Template regularly while working, as your progress isn’t auto-saved!
The new design gives you a clear overview and quick access to everything you need:
Message width: Choose the width of your newsletter, push, or automation (max. 600px).
Message alignment: Decide whether your message should be centered or aligned to one side.
Default padding: Adjust margins on the sides (e.g., 20 left and 20 right).
General background color & font: Set a default background color and font for your email.
Tip: You can also go to Message Settings (In the global styles tab, top left button/icon) to:
Select the “Heading tab” to define your tile styles. Here you can:
This helps you keep newsletters consistent and on-brand.
When starting from scratch, click on the “Insert header here” block, where the image tab will appear on the right hand side. Click on the round icon “Replace Image”, and:
To edit text:
To insert or change an image, follow the same steps as when changing your header:
Editing Images: Click the “Edit Image” Icon, next to the “Change Image” icon.
Then you will be redirected to the image editor where you can for instance crop, resize, draw and change the background color of your image. You can also add text and frames. Then you click on save and your changes will appear.
In the Blocks section, drag a Button Block into your email. Then you can choose between different editing options in Settings and Styles.
To create breathing room between sections, drag a spacer block into your layout. You can adjust its height, width and color in the right-hand editor panel.
Add your social media links by dragging in the Social Block from the left panel. You can:
At the top of the builder, you can now switch between mobile and desktop view to preview your design instantly. This makes it easier to ensure your template looks great on a mobile device as well.
However, we always recommend to send a test at the bottom of the preview pop-up, and check your template on different email platforms, both on desktop and phone, as well as with and without dark mode (on iPhone especially).
With Lily’s new AI Subject Line Generator, you can now create effective, personalized subject lines directly inside your template, saving you time and effort when setting up campaigns.
When you write or generate a subject line in your template, it will automatically appear in your Campaigns, so there’s no need to re-enter or copy it later. This ensures consistency across your email setup and helps you get campaigns out faster.
To use it:
Tip: Use the AI generator to test different tones or styles — such as creative, informative, or promotional — and see which ones drive the best open rates.
When you’re ready to save:
Final Tip: Start with a Lily Template to save time, they come with pre-built structures and styles that match best practices for readability and performance.
This section will cover how to set up a signup form in Lily. You can create as many signup forms as you need, depending on how and where you want to post these forms to collect new marketing consents. These will then show up in your Audience segment, where you can create an Audience for your signup form and create tailored newsletters and campaigns.
You can also connect a signup form to Automatios, so that when a new person sign up, they will automatically receive a scheduled email thanking them for subscribing etc.
Below, you will find all the steps you need in order to create this form:
To add a signup form to your website you must scroll down to the "Embedded form" section, and add this to your website. You just copy and paste the code shown in the grey box into your website. The code will load the signup form automatically from Lily’s platform, so you don’t need to build the form yourself. It also shows how to mark required fields. If some fields must be filled out (like name or email), you can add a red asterisk * next to the label. Just use the small bit of CSS code at the bottom. This helps them know which fields they must complete before submitting the form.
Lily makes a large amount of data available about your customers. Here are the reports and analytics sections that are available out of the box:
On the left hand side you find Reports, which gives you an overview of all your previous and scheduled email & SMS campaigns. You can see that you can get insights into when each campaign was scheduled and sent, and key metrics such as recipients, click and open rate.
Then, you can also click on each individual campaign, and get even more in-depth data and insights into how the campaign went and what results it generated:

When you log into your dashboard, you are given a clear, data-driven overview of how your marketing is performing and how your audience is engaging with your events. Below, you will find an overview of each of these sections on your dashboard.
Firstly, you’ll see several key popups that provide valuable insights into your marketing and audience data. Here’s what each one means:

These popups give you instant access to key marketing and audience insights, helping you make data-driven decisions effortlessly!
This section displays updated ticket sales data about your upcoming concerts.
It is much easier to prioritize and take action based on this overview.

In this section, you’ll find data about your most dedicated customers and how many purchases they have made.
We encourage Lily users to benefit from this information by making their best customers feel special – by reaching out to them, giving them discounts, or some other offer.

This section makes it easy to track how your sales are going filtered by days, weeks and the last 6 months.
You can view the number of orders and tickets sold over the last 6 months, the past few weeks, and each day within the last month.


This guide shows how to export an existing audience, import it into Lily, and create it as a segment.
Export the audience/list you want to transfer to Lily.
When the export is complete, you will receive a ZIP file.
Extract the ZIP file so the CSV file is ready to upload to Lily.
Go to:
Audience → Upload Audience
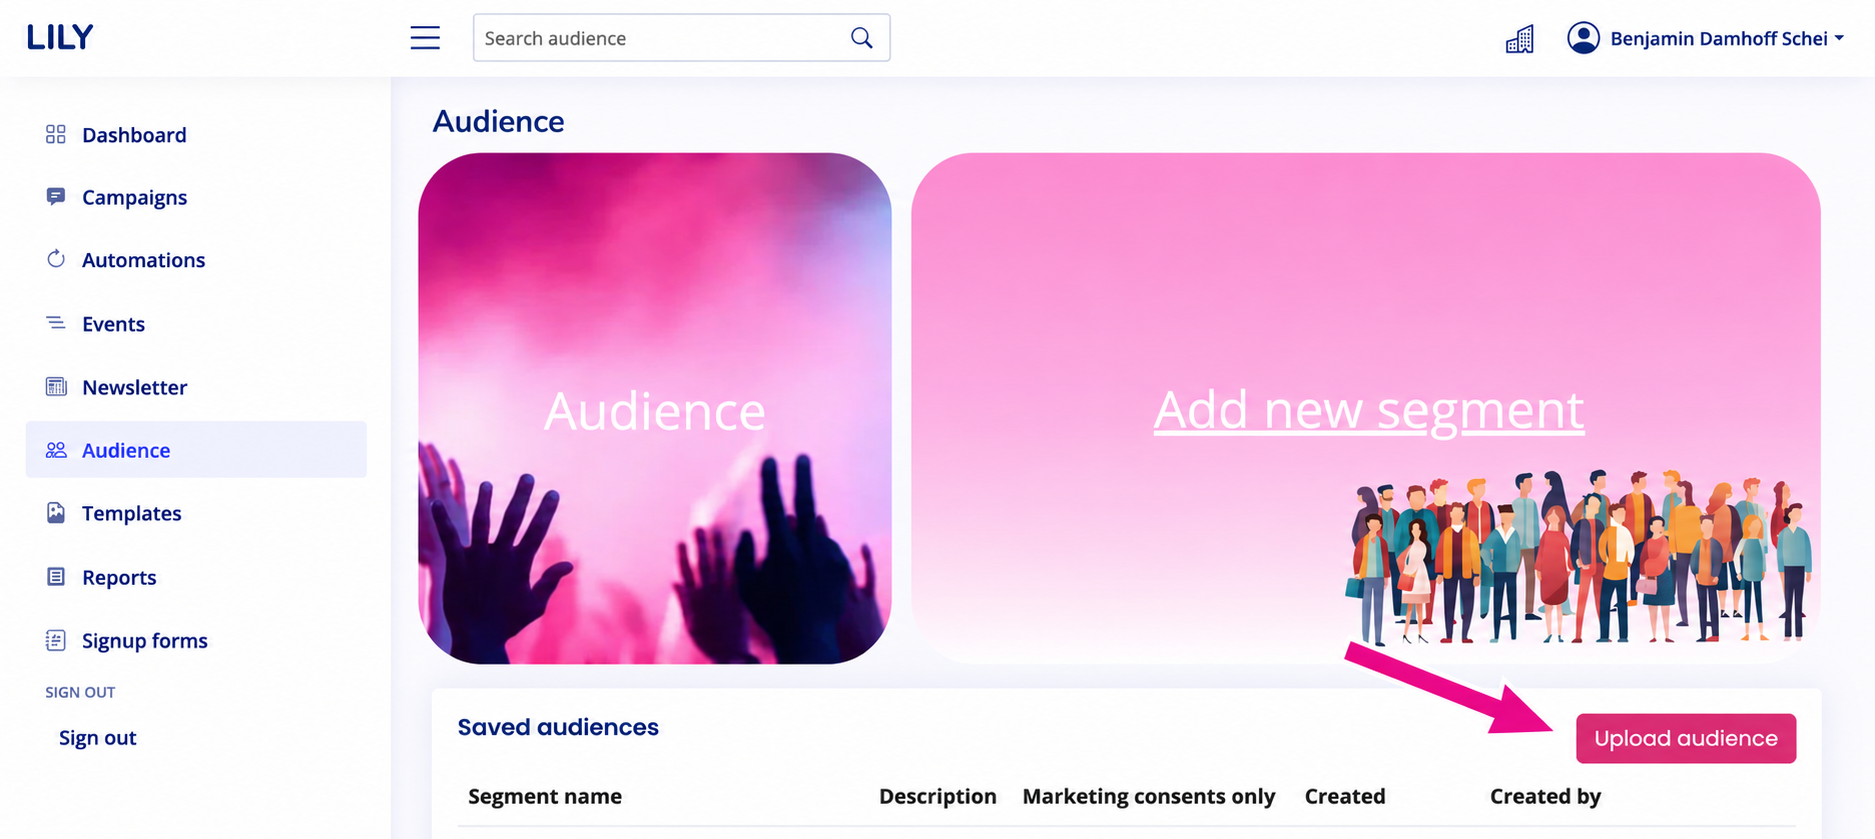
Then fill in:

Once the file has been uploaded, you will be taken to Configure uploaded audience.
Click Add event in the upper-right corner.

In the Add Event window, fill in:
The other fields do not need to be completed for this process.
Then click Add event.
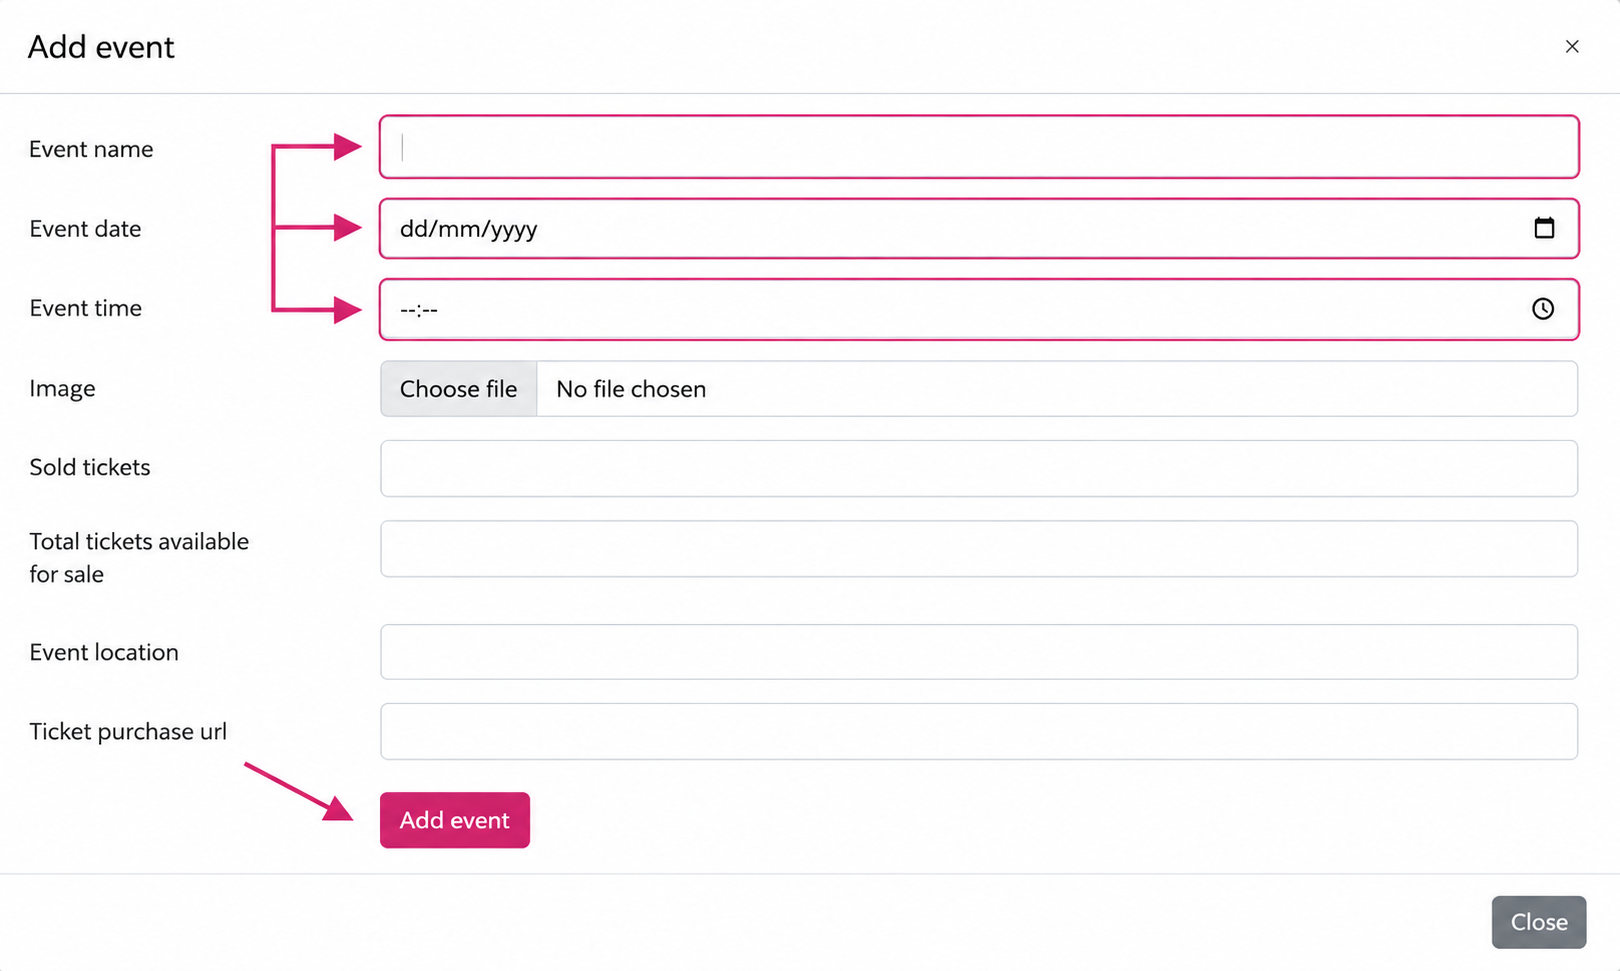
Check that Lily confirms that the event has been created.
Continue configuring the audience.
If the contacts in the uploaded file have given marketing consent, enable:
All contacts in uploaded file has given a marketing consent.
The exact procedure to follow if not all contacts have given marketing consent must be clarified before this guide is finalized.
Under Data Source, select:
the relevant source for the imported audience
Under Events, search for the event created in the previous step and add it.
Remember to add the event under Events by clicking the + on the right-hand side.

Under Preview, the data from the CSV file must be mapped to the correct fields in Lily.
A common setup may be:
The mapping may vary depending on the data included in the file. Check that each field is mapped to the correct information before completing the import.
Once the mapping has been checked, click:
Finalize Import
When the import is complete, return to Audience.
Click Add new segment.
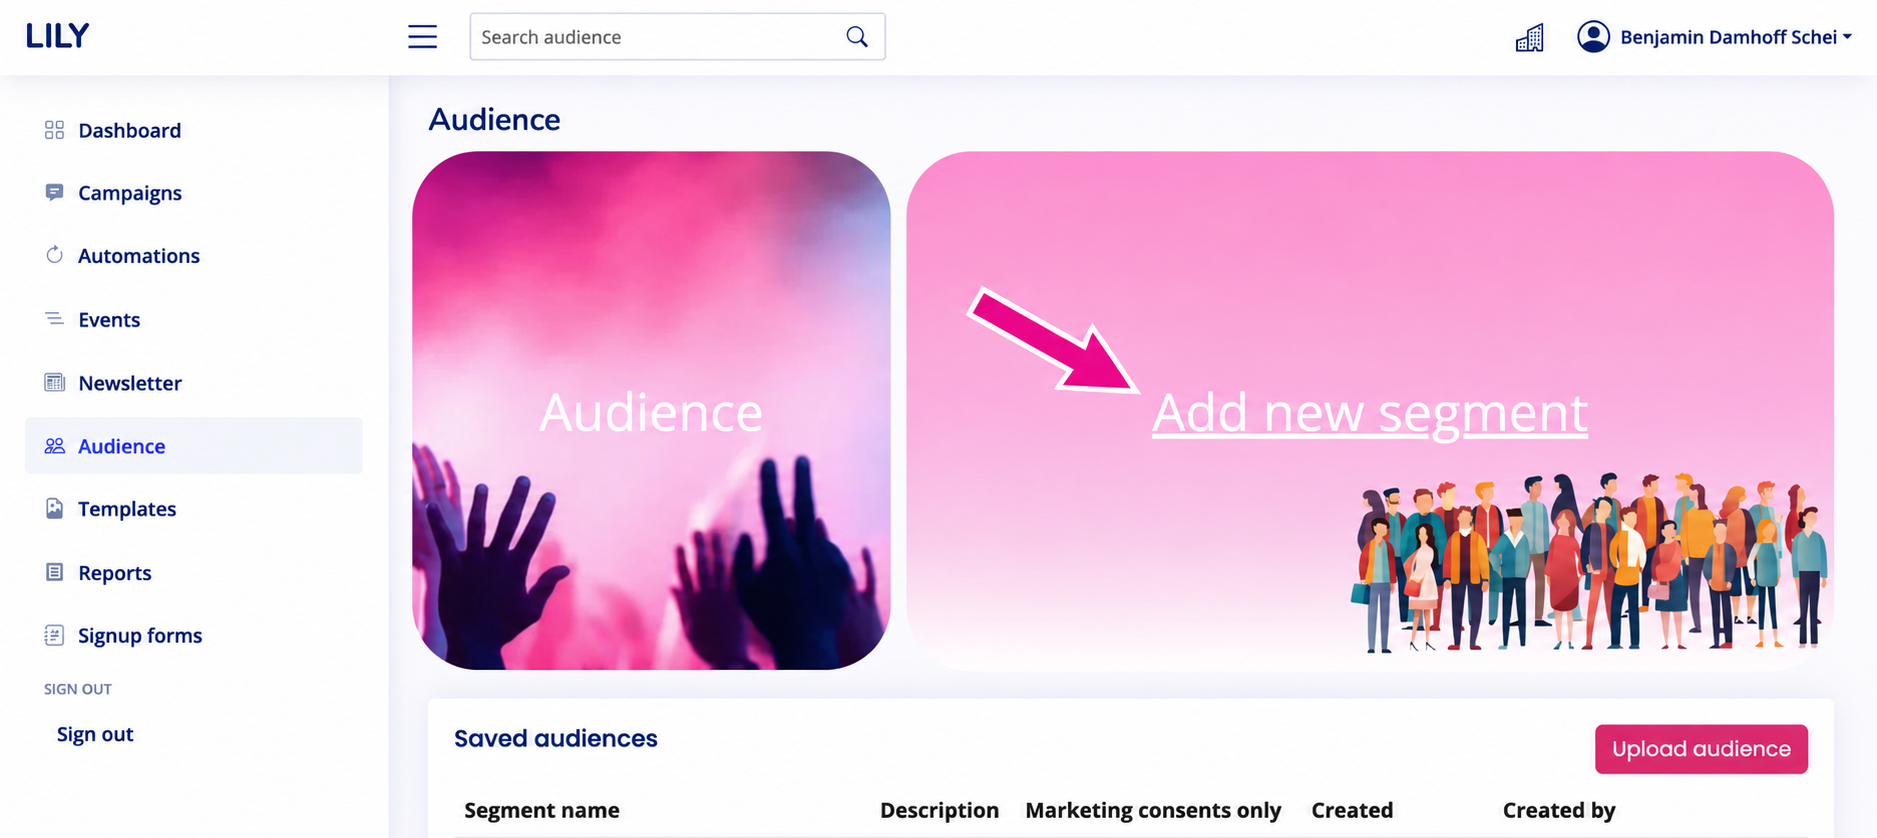
Then click:
Select Events

Find the event created earlier and click add.
Because the event was created recently, it will normally appear at the top.
Once the correct event has been selected, click:
Filter and Save
The audience has now been imported into Lily and is available as a segment.
